

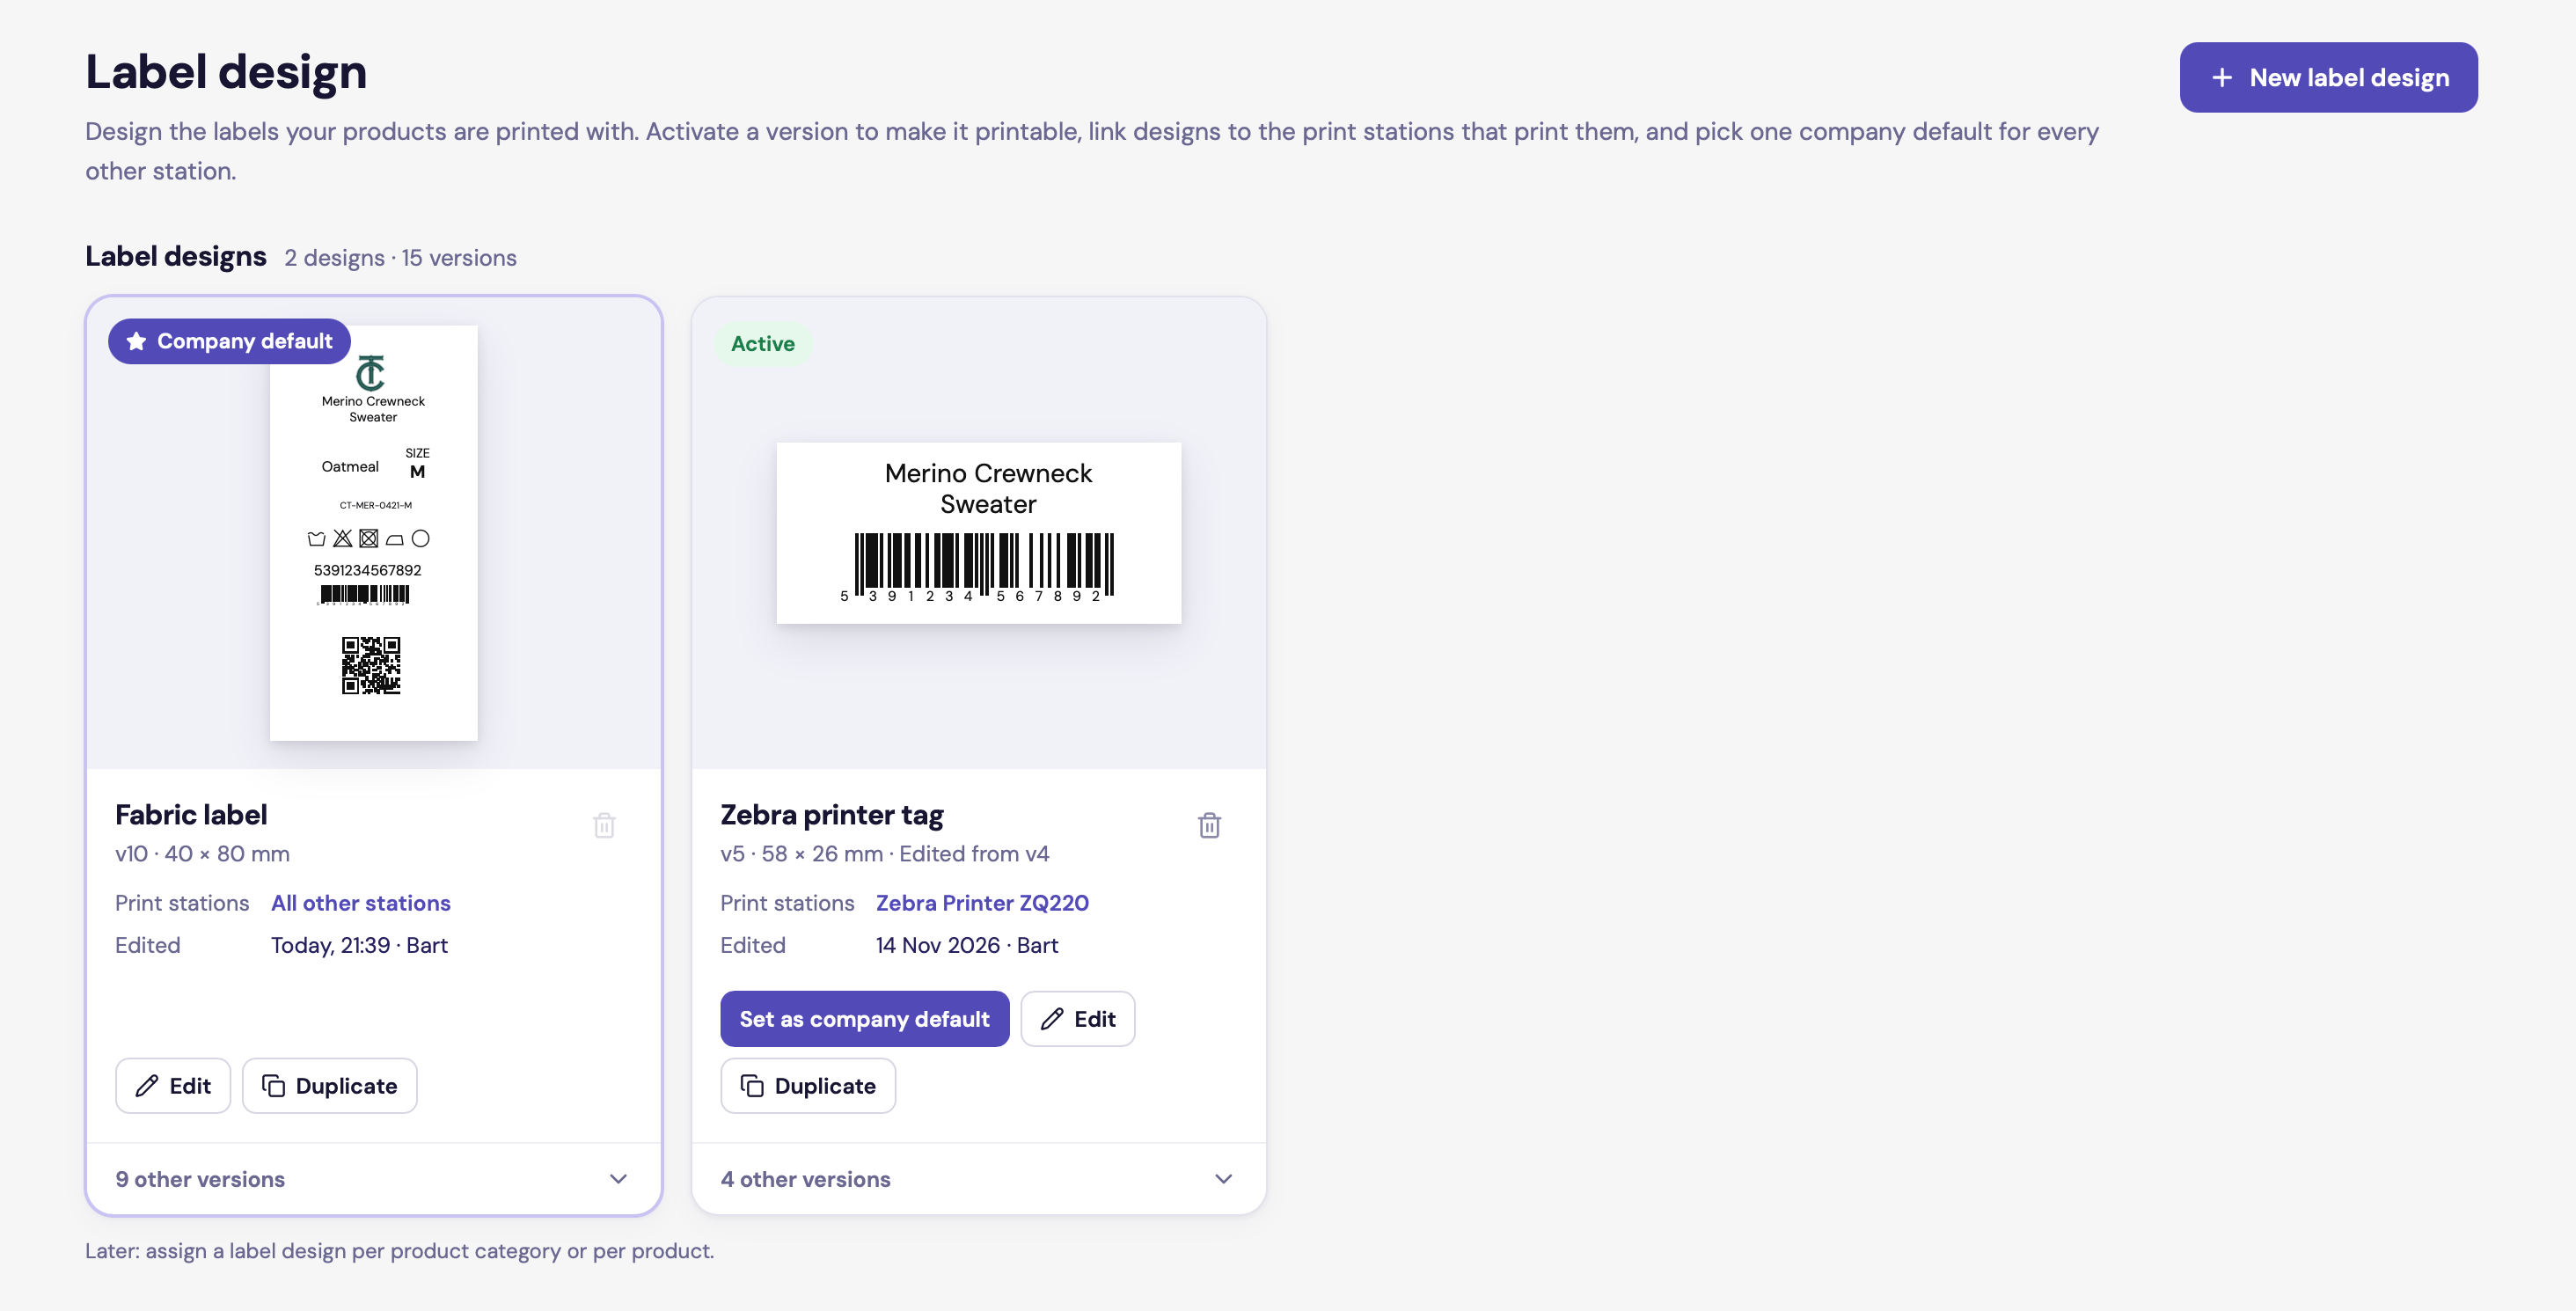
Two label designs: the company default, and a design linked to one station
Owners, Admins and Editors can create and change designs. Other roles see them as view only.
Create a design
1
Start
Click New label design.
2
Name it
Give the design a name, for example “Sew-in textile tag”.
3
Choose a size
You can change the size later in the designer.
4
Choose the sides
- Folded in half: a two-sided label that folds across the middle, such as a sew-in tag. The top half is the front and the bottom half is the back.
- One-sided: printed on one side only.
5
Open the designer
Click Create and open designer.
The designer
- Left, Elements: everything you can put on the label. Drag a tile onto the label, or click it. Tiles you have already used show a tick.
- Middle, the canvas: your label with rulers in millimetres. A folded label shows Front and Back.
- Right, Properties: settings for the element you selected, or for the label itself when nothing is selected.
Elements
Product, textile and traceability elements are filled in from each product when you print. Design elements are the same on every label.
A label can hold up to 50 elements.
Move, resize and rotate
Select an element to see its handles. Drag it to move it, drag a handle to resize it, and use the rotate handle to turn it. For exact values, type X, Y, Width, Height and Rotation in Properties.Settings by element
Product and textile fields
Product and textile fields
- Font size, Weight (Regular or Bold) and Align.
- Show caption and Caption: a small title above the value, such as “Size”.
- Uppercase and Border.
- Hide when empty: leaves the field off the label when a product has no value for it.
- Fallback text: what to print when a product has no value, for example “ONE SIZE”.
DPP QR code
DPP QR code
The QR code holds the passport link for the size being printed.
- Error correction: M, Q or H. Higher levels survive more damage but need a larger code.
- Quiet zone: the empty margin around the code.
Barcode
Barcode
Prints an EAN-13 barcode from the size’s GTIN. Tick Show digits under the bars to print the number too.A size with only a non-standard barcode prints it as Code 128. A size with neither prints without a barcode.
Care symbols
Care symbols
Prints the product’s care symbols. Set the Symbol size and the Gap between symbols.
Text
Text
Fixed text of up to 500 characters, with font size, weight and alignment.
Image
Image
Click Upload image, or drop an image file onto the canvas. Use PNG, JPEG or WebP, up to 10 MB. The image is scaled to fit its box.Use this for your logo.
Line and Box
Line and Box
A line has a Thickness. A box has a Border thickness and can be Filled.
Label settings
Click an empty part of the canvas to see the label’s own settings:- Preset, Width and Height
- Orientation: portrait or landscape
- Safe margin: the edge area to keep clear, from 0 to 20 mm
- Sides: One-sided or Folded in half
- Print resolution: 203, 300 or 600 dpi. Match your printer.
Preview
Switch Mode from Design to Preview to see the label on a sample garment, as a Neck label and a Side seam label, true to scale. A folded label also shows the Back of label. To see it with real data, use Preview with product at the bottom of Properties. Search for a product and choose a size. Under the preview you see either “Prints as shown” or a list of notes for that product. Click a note to jump to the element.Print a test label
Click Print test label in the toolbar to open the label as a PDF and print it on your own printer.Saving
The designer saves your work automatically a moment after each change. The toolbar shows Saved or Unsaved changes. Saving does not send the label to your stations. For that, see Activate and assign labels.Warnings
Duplicate or delete a design
On a design’s card:- Duplicate copies it into a new design and opens the designer.
- The bin icon deletes the design and all its versions. This cannot be undone. The company default cannot be deleted; make another design the default first.